You may want to include your company’s corporate branding, or even offer sponsorship opportunities to third parties by selling this space. Whatever your motivation, this page gives you a quick guide to customising the various parts of the YUDU Publisher Reader interface.
Due to a new toolbar release we have created two separate branding packs - one contains the instructions panel for the new toolbar, and the other contains the instructions panel for the old toolbar.
You can download the branding packs by clicking the link below:
New Style - Branding Pack | Old Style - Branding Pack |
![]() |
![]() |
click the above images to zoom in
Note - We recommend using the latest version of Adobe Flash Pro for the best results
The pack contains a flash introduction page, publication and page loader template for you to customise appropriately.
When editing any of these flash files, remember to always align the origin in any new asset loaded into the flash files to be the top left of that object. Otherwise, you may find the final file’s asset positioned in the wrong place when the publication has loaded, despite the fact it looks correct in Adobe Flash.
There are four places that many of our users choose to brand, being;
Toolbar Logo
At the top left of the YUDU Reader, there is a customisable space for a logo, which is easily used by simply uploading a jpg (34 pixels high for best results), to your publishing area, and then selecting that logo in the Branding screen.
Publication Loader
When the reader first fist clicks a link to load an publication, they will see a YUDU Publishing publication loader. Simply put, this gives the reader an indication of loading and occupies their attention while the browser works in the background to stream in the first few pages.
To customise, open the ‘PublicationLoaderAS3.fla’ file in your template pack using Adobe Flash. If a font warning box pops up, simply select ‘Use Default’.
Click on the YUDU Publishing icon in the middle of the stage, and look at the bottom left of the property inspector. This object is called “mContent_mc” and contains all of the assets needed for customisation.
Double click this object to edit it, then notice what is contained within this object. There is an ‘mText_mc, containing the text #%#’, a ‘%’ symbol and the YUDU logo. The only part you should modify is the logo itself. The ‘mText_mc object’ will contain the percentage loaded and will be called automatically by the application. For a static logo on the loader, you can simply remove this logo from the stage and replace it with a static image.
Alternatively, for a more animated approach, you can insert your own animated movie clip at this level for a more interesting logo.
In either case, drop your logo / movie clip into place with File | Import to Stage, save your file and publish it to a .swf file.
Upload this file to your publication by going to the Files section in the YUDU Publisher interface, remembering to select ‘Publication Loader’ in the relevant drop down box. Change to the Settings - Branding screen and select your file from the ‘Publication Loader’ drop-down box.
Introduction Page
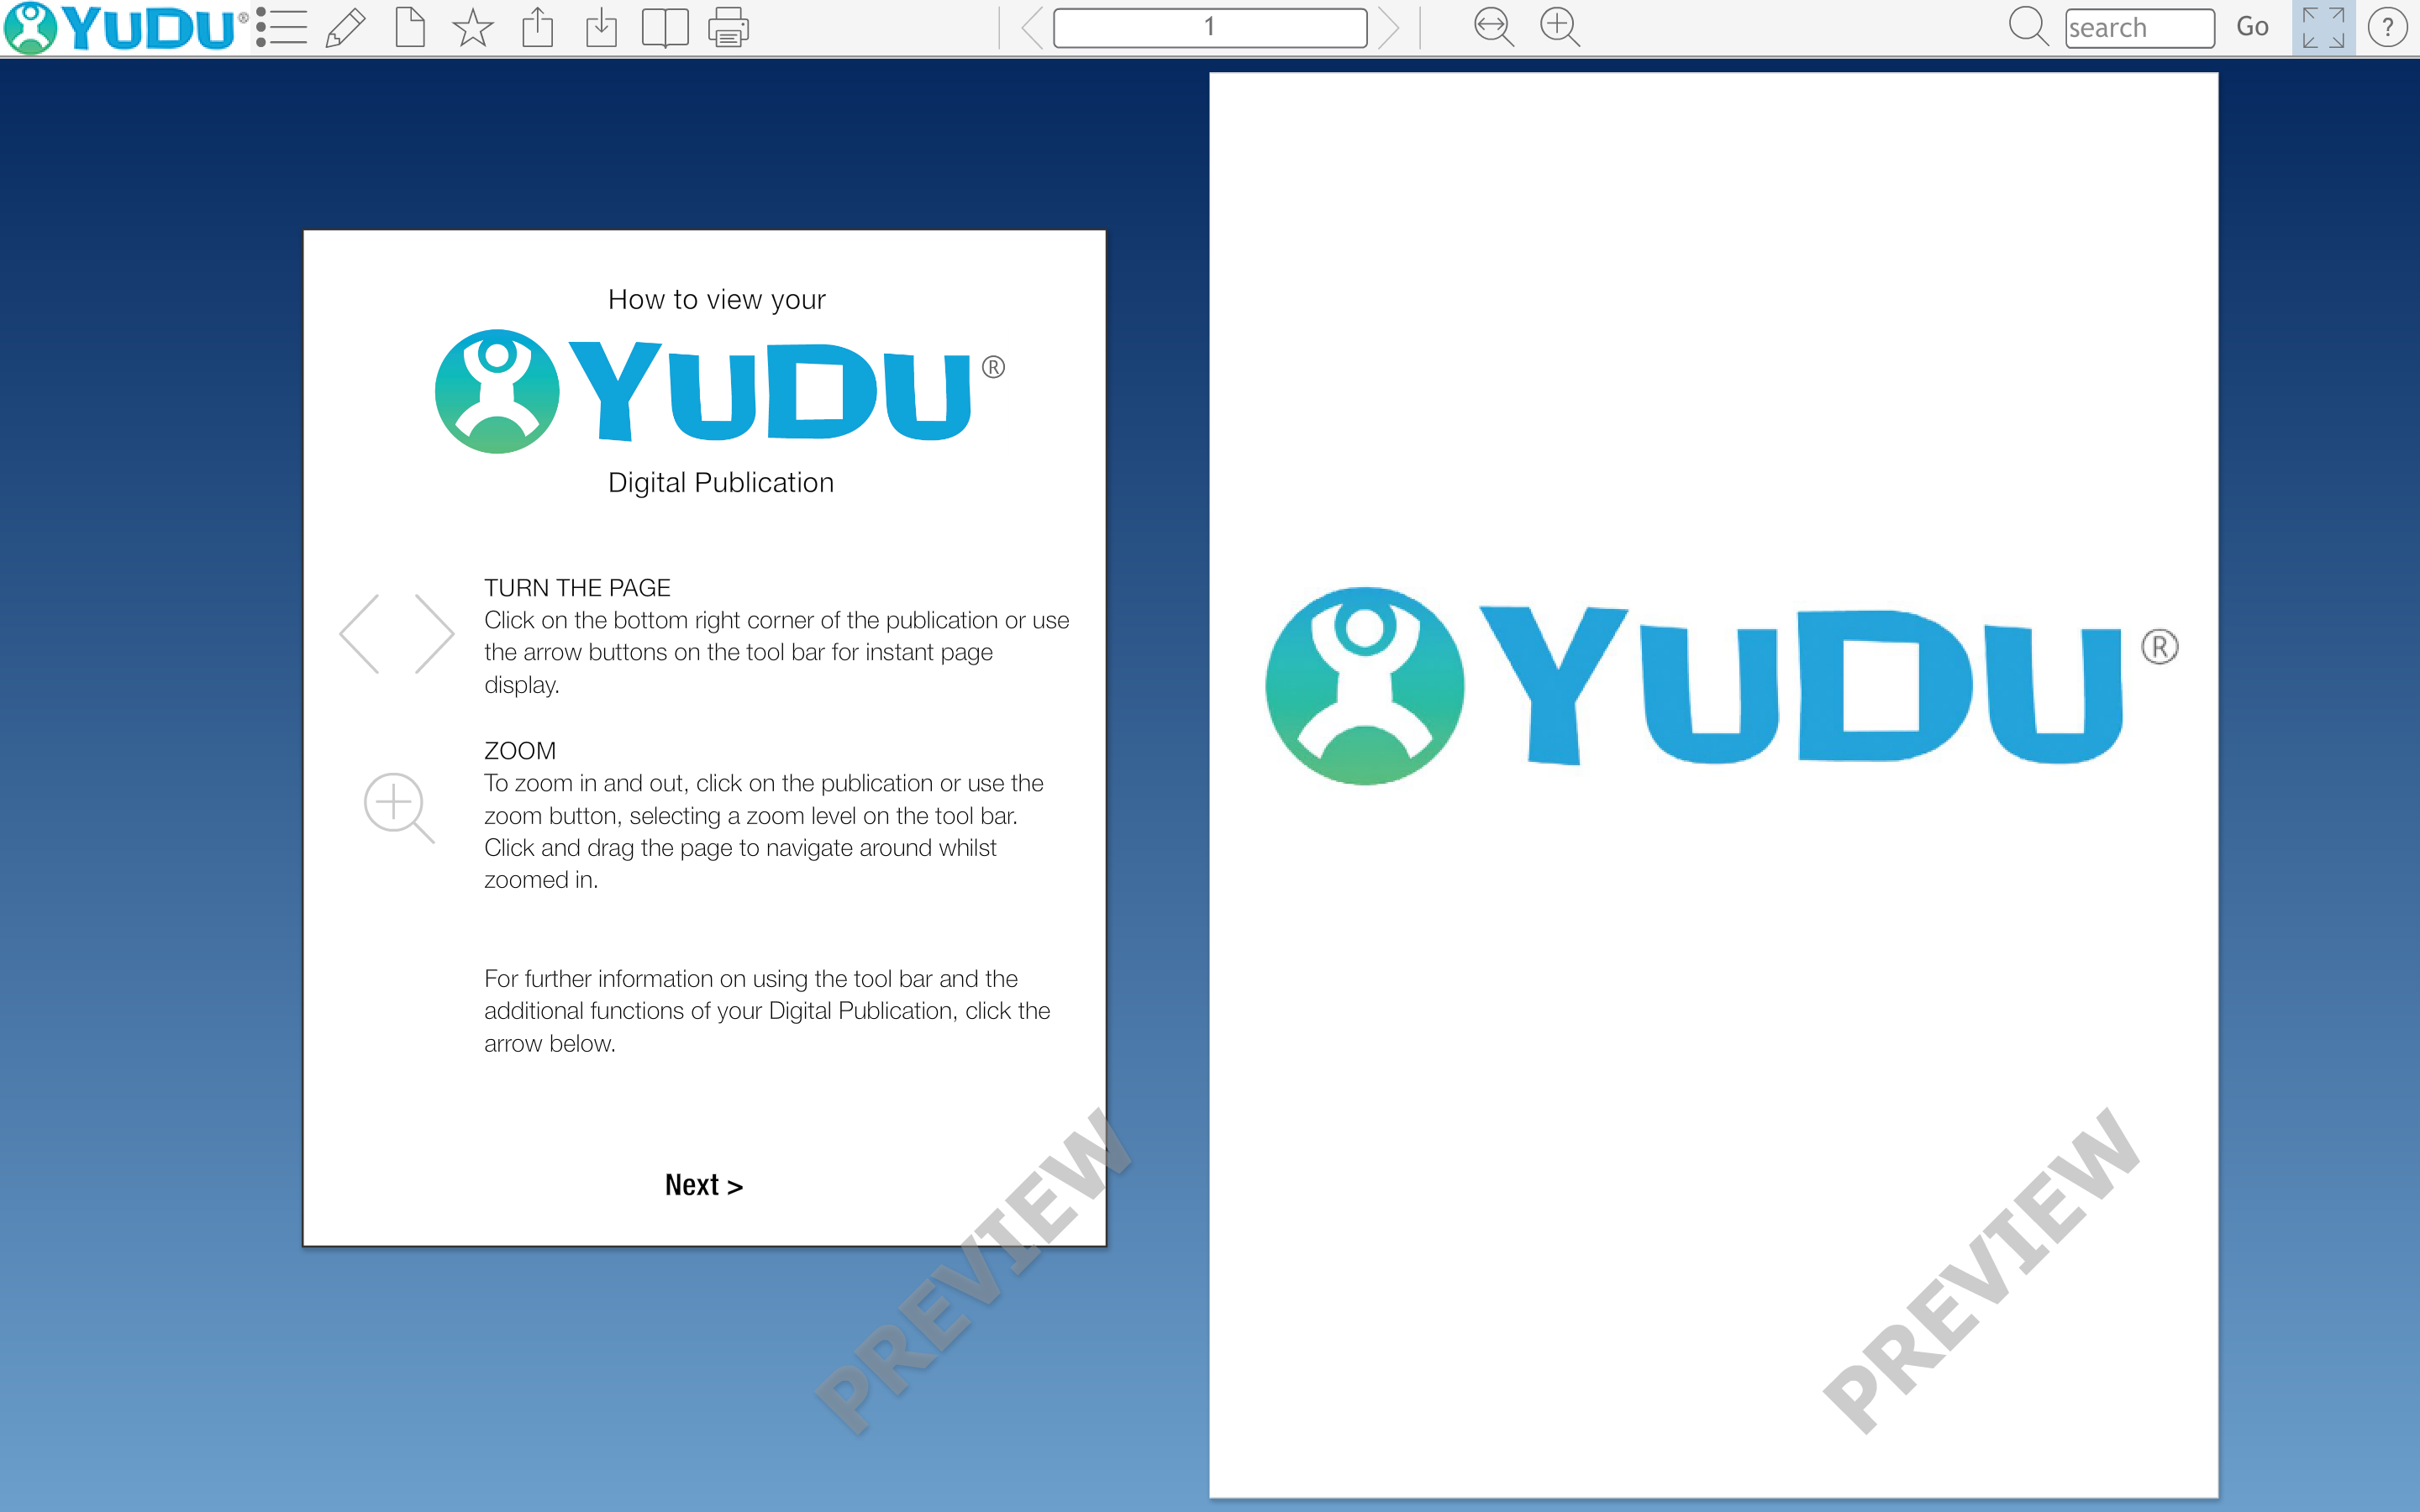
Seen usually occupying the space opposite the front cover of YUDU publications, the introduction page is a great place to display help information, promotions, advertising or other content. Nearly every reader who opens to your publication will see this space and so it is potentially very important to the impact of your publication.
You’ll notice two objects on the stage, a foreground object called ‘mIntro_mc’ (pictured), and a background object called ‘mBG_mc’.
All customisation work should be done within this foreground object and not outside, otherwise your readers may see page errors / strange side effects! We warned you!
Essentially what happens is, when the publication is loaded, the background object gets scaled upward, to match the size of the right hand side front cover. Then, the intropage foreground object gets scaled up relative to the background object, without scaling it non-linearly.
This means that if you don’t rescale the foreground object relative to the background object, there will be a transparent border around the foreground object in the publication. This may not always be the effect you want, but feel free to play around with the relative size of these two objects if you do want to affect this within the publication.
Double click the ‘mIntro_mc’ object, and you’ll find a layered movie clip inside, which contains our three page layout for the intropage. Modify this at will, but remember always to have the origin for any new asset set to the top left of the asset. Otherwise, you may find it in the wrong position when you load it into the publication.
Modify the text, fonts, or even replace the contents of this movie clip entirely, to match the layout and styling of your publication.
Page Loader
Open the ‘PageLoaderAS3.fla’ file in your branding pack, using Adobe Flash. Click ‘Use Default’ to any warning messages, then look at the Library. (If it isn’t open, Press Ctrl + L (or Cmd L on a mac)), and look for the object called ‘LoadingContentMC’.
Right click this object and choose ‘Edit’. In the stage, you’ll see a default group of objects comprising the YUDU logo.
Simply replace this with your own logo or movie clip, save, publish and upload to your publication, just as you did in the publication loader section, except this time, choose ‘Page Loader’ in the drop-down box on the ‘Upload Files’ screen.
Just as before, select this file from the Settings - Branding screen as the page loader, then re-preview your publication to see the change.
Comments