Once a PDF has been uploaded, you can add further interactivity to your digital publication via overlays.
As their name suggest, overlays are placed over the page and can include the following elements:
- Web Links
- Email Links
- Page Links
- HTML Lightbox (Pop-Up)
- HTML (On-page)
- Video (MP4)
- Audio (MP3)
- Images (PNG or JPEG)
- Product Codes
- Phone Numbers
Adding overlays to your publication is very simple and is done using the Overlay Editor.
The Overlay Editor can be accessed by clicking on Pages in the top right menu:

Here you can see the Edit Pages menu, where all of the publications pages (uploaded from the PDF) can be found and arranged by simply clicking and dragging the pages to where you need them.
To access the Overlay Editor, simply click on the page you wish to add overlays to:
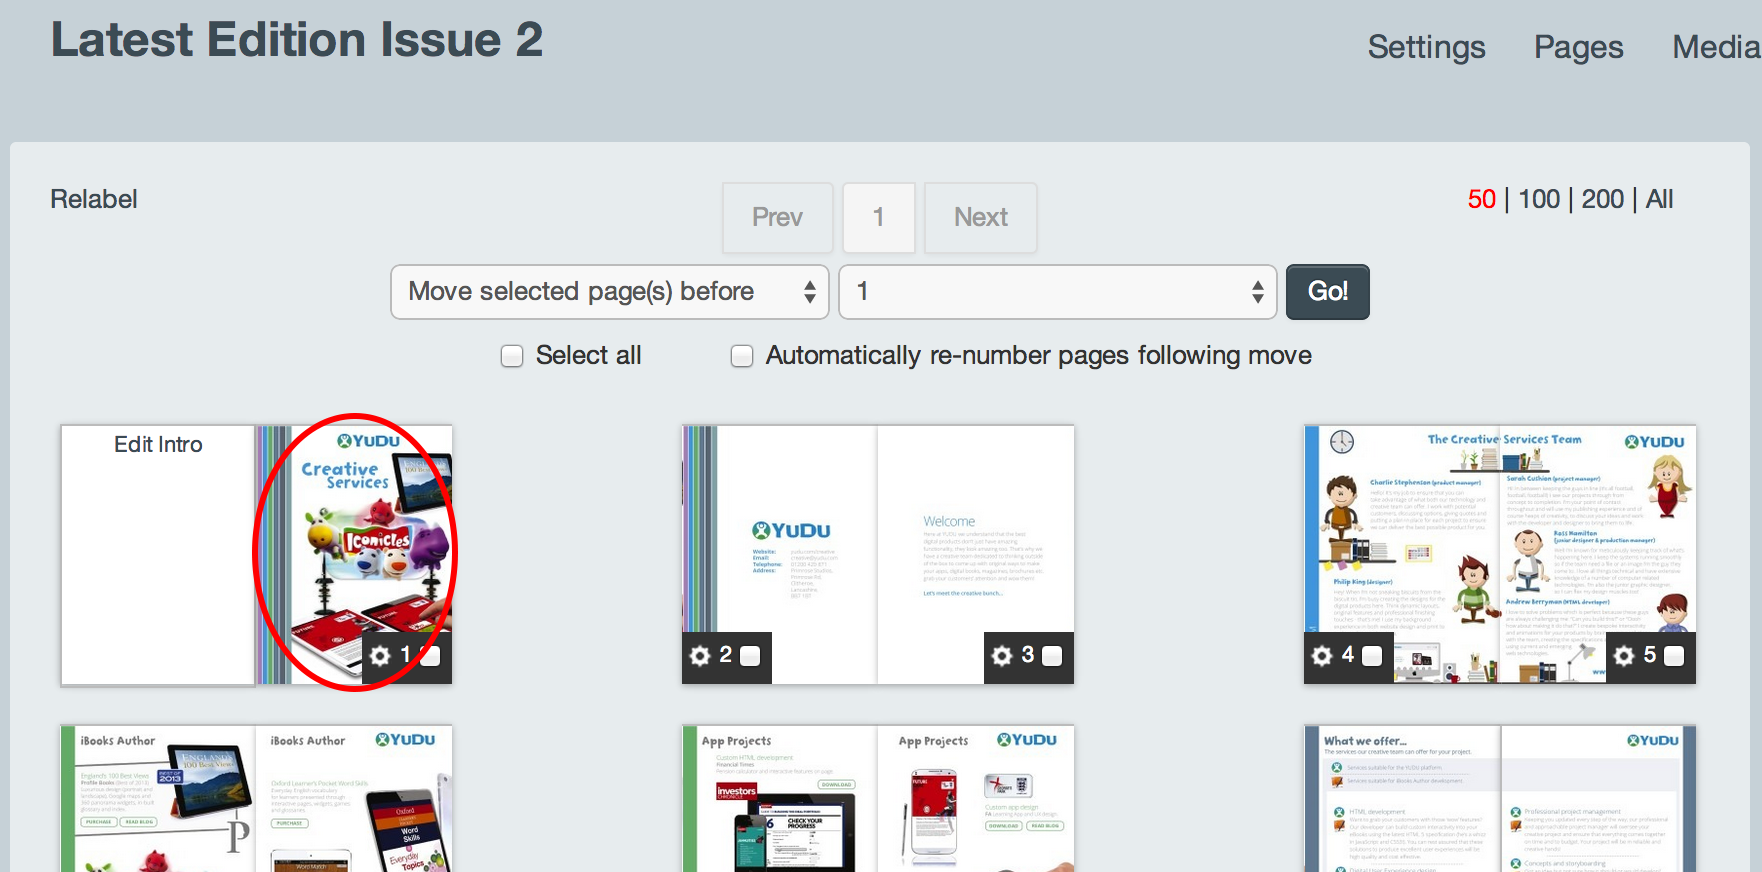
In the example above, clicking page 1 (the front cover) will bring up the Overlay Editor for that page, as seen below:
The first three icons starting fromt the top left are the tools for creating web, email, and page link overlays. These are the most common overlay types, followed by the tools for adding HTML lightboxes, on-page HTML, and other types of media, such as video and audio.
On the top right are the selection, zoom and panning tools, along with more advanced tools for the bulk selection, deletion, duplication and adjustment of overlays, followed by tools for linking content pages, undoing/redoing and saving your changes.
Don't worry, you can hover over an icon for a few seconds to see a tooltip.
Keyboard shortcuts to quickly switch between each of the tools are as follows (and can be listed like the below by clicking on the ? on the right of the toolbar):
To create a new overlay, simply click on the relevant tool icon or press the relevant shortcut key on your keyboard.
Now move your cursor to the region of the page where you wish to create your overlay, and then click, hold down the mouse button, and drag out a box.
Once done, your overlay should resemble the red Web Link Overlay in the image below, with a new menu appearing to the right that is specific to each type of overlay:
The new menu enables you to precisely edit the overlay's size and positioning. The hand symbol in the top left of this menu enables you this menu around the screen, as desired.
Each overlay type has a slightly different menu but with fundamentally the same functionality.
An example of this is the Web Link Overlay, show above, that allows you to add a web link to your digital publication by entering a URL in the Target URL field.
For a Page Link Overlay, for instance, the size and positioning fields remain the same but the Target URL field is replaced by a dropdown page selector, so you can add a clickable link that takes you to the chosen page.
Experiment with the URL, Email and Page linking abilities until you are comfortable with the Overlay Editor.
Remember you do not need to save every single page once you have finished working on them. Use the keyboard shortcuts CTRL + < or > to move left/right through your document pages adding further enhancements. Once you're happy with the edits, CTRL + S will save the entire project. When you're ready to check your work regenerate a preview link via the Publish screen.
Note: we recommend saving every 20 minutes or so if you are working on a large project to ensure the 30 minute security logout does not affect your workflow. The good news is if you do forget to save and see a prompt "Your session expired" - simply go to your main edition tab (the Overlay Editor opens in a new tab window), refresh your screen to login back in then come back to the Overlay Editor tab you should have left open. Hit OK on the prompt and then try to save again. Your work is stored in local cache meaning you will not lose your overlays!