Now that you've follow the other guides in this series, we now need to link the previous steps together using a provisioning profile. This profile will enable your app to function on the devices you've added to your account earlier, and be distributed to other people. As such, there are two types - Ad-Hoc and App Store profiles.
While you're testing an App, you'll need an Ad-Hoc profile (App Store, as you might guess, are for apps that are ready to be distributed by the App Store).
If you aren't already signed into your Apple iOS developer account, sign in using your authentication details.
Click Certificates, Identifiers & Profiles on the right of the screen

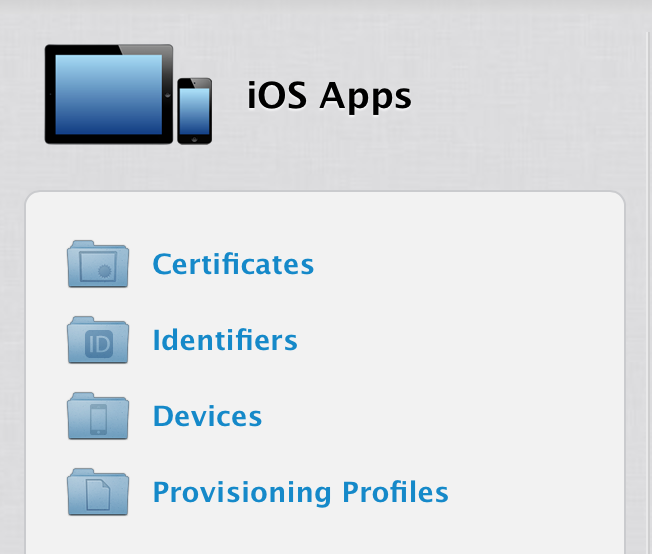
On the next page, click on Provisioning Profiles.

Click on the plus button at the top right

Choose Adh-Hoc

From here it is a case of choosing other criteria relating to the app, in the following order:
- the App ID you created in the previous guide
- Select the certificate you've previously uploaded
- Choose Select all to add all devices (or a subset if you prefer)
- Enter a name for this profile - we recommend you include the words Ad Hoc as part of the name to differentiate between the ad hoc and App Store profiles, then click Generate.
Finally, click Download next to your newly created profile.

