DNS, or Domain Name System, is a server that translates domain names like apple.com to IP addresses, a numerical sequence of numbers that can locate servers on the internet. Your ISP has its own DNS server that is used by default on all your iOS devices, but you can also point it to a different DNS server.
Why would you want to change the default DNS server for the purposes of reading digital content?
Most ISP's DNS servers aren't fast enough, and because DNS lookups are performed very often this could impact your reading experience. Furthermore, if the DNS security is particularly strict this can actually restrict the content that you are able to see, let alone read and download, so it can be very beneficial.
YUDU recommend changing to the Google DNS service, and here are the instructions on how to do this.
Note: screenshots and instructions taken from iOS 8.3 on iPhone 6 Plus. Most devices are similar but earlier versions of the operating system may differ slightly.
To begin, select System Preferences

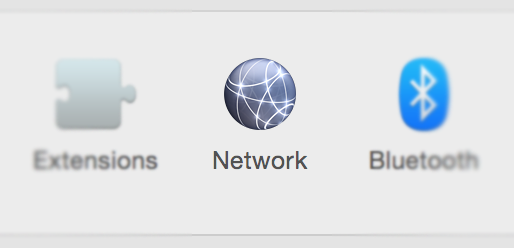
From the System Preferences menu select the Network option

Select the connection on the left hand side that you would like to change (Wi-Fi if you are wireless or Thunderbolt if you are connect by a cable) then select Advanced...

Selecting the DNS tab, click and remove any previous entries from the DNS table by selecting them and hitting the minus symbol just below the table.
To add new entries click the plus symbol, then enter 8.8.8.8 and 8.8.4.4 as shown below.

Click OK in the bottom right corner to confirm your changes and you are good to go.