In the following guide, we provide details on how to create a HTML Slideshow using a template provided at the bottom of the article.
Note: A text editor such as Text Wrangler (Mac Only) or Notepad++ (PC & Mac) is required in order to edit the HTML content discussed in this article.
Structure of the HTML
Download and extract the template at the bottom of this guide to reveal the following structure:

- CSS - This folder contains the style sheets of the HTML which can be edited should you wish to change appearance
- Images - Contains the images to be used in the slideshow
- Lib - The Javascript relating to the interactivity of the HTML can be found here
- Index - This is the HTML file we will be editing
Add Your images
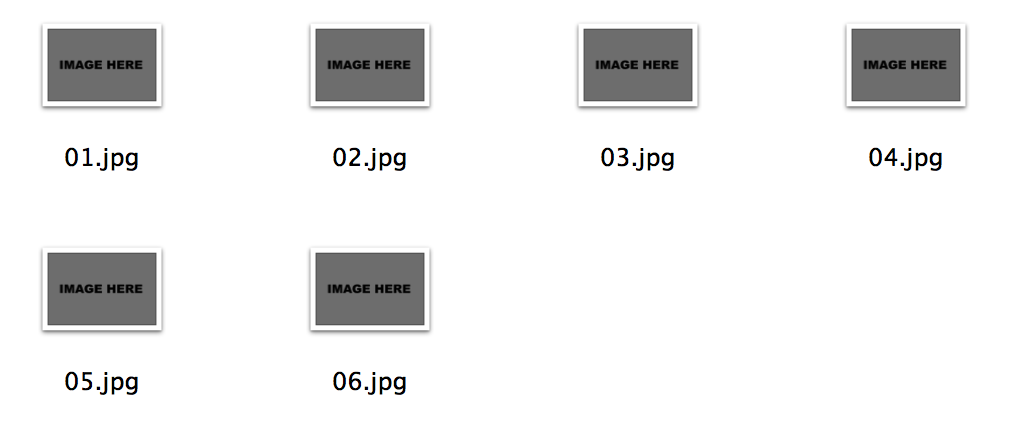
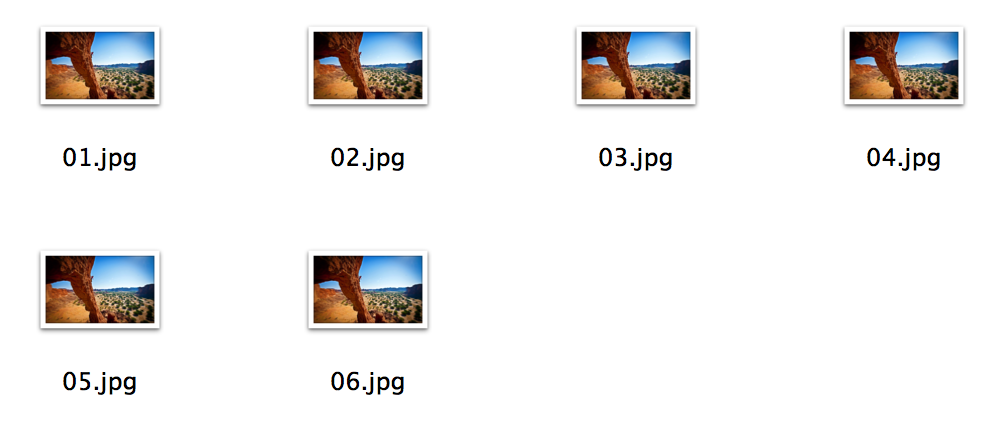
To add your images, simply drag them into the images folder, making sure to overwrite the previous images using the same file name.
Before After


Images can have their filenames changed, however this will require an amended HTML file that will be discussed shortly.
Add/Remove Images
Should you wish to increase or decrease the number of slides within your HTML, open the file Index.html in your preferred text editor.
You can see from the below screenshots where the images are referenced:

To add images, simply copy and paste a line, such as '<li><a href="images/06.jpg"><img alt="" /></a></li>' and paste it underneath the last entry but above </ul>. For example:

To remove images, delete the full line such as '<li><a href="images/06.jpg"><img alt="" /></a></li>' but retain </ul>.
Image Size
The HTML file is set to display images at 100% of their size, therefore you do not need to amend anything within this file (however please take care when implementing your images so that they are not too small or large). Using an image editor such as Adobe Photoshop will allow you to export the images in the same size, and this is recommended for quality and continuity.
Adding the slideshow to your digital publication
The file is now ready to be uploaded to YUDU Publisher and added to the digital publication using the overlay editor, for which a guide can be found below: