HTML overlays can be placed directly on a page, allowing content that merges seamlessly with your fixed layout design.
You have the flexibility to dedicate:
1) Small sections of the page to html content, such as scrolling text boxes
2) Cover an entire page with a full-page HTML overlay
3) Use a hybrid approach by overlaying html with a transparent background over the static PDF content, such as in the following example:
Embedded HTML
To add a HTML Overlay on-page within your publication:
- First create or source the HTML content and compress it in a ZIP file. Important Note: Please select and compress all your html files at the root of the folder rather than selecting and compressing the main folder containing all your source files.
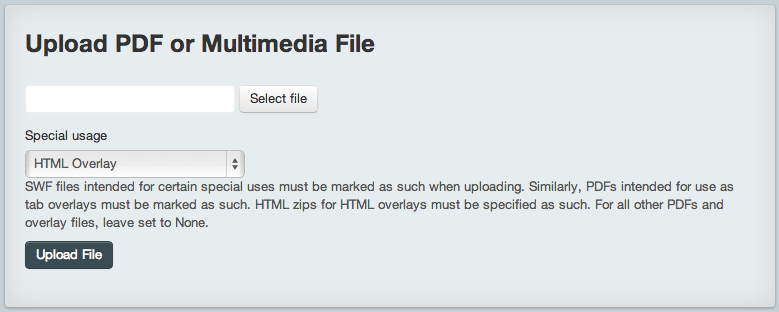
- Once compressed, upload the ZIP file to Publisher via the "Files" section, selecting "HTML Overlay" special usage.

- Go to the "Pages" section and select the page thumbnail on which the HTML Overlay should appear.
- In the Overlay Editor, select the "HTML Overlay" option.
- Draw your overlay on the page and a "HTML" pop-up box will appear with additional options.
- Within this pop-up, you must choose your ZIP file from the "HTML ZIP File" dropdown.
- For the "Index File" dropdown, choose the main .html file within the ZIP. (Unless the content contains multiple HTML files, this will be the only option available in the dropdown.)
This is the same procedure as adding a HTML Lightbox except for the overlay type used in step 4.
If the overlay content is interactive, the "Allow Interaction" checkbox must be selected; if the content is not interactive (such as a pure animation), it can be left unchecked.
Whereas with the HTML Lightbox option the overlay is drawn over your trigger area, the overlay area here defines where the HTML content will be rendered.
Streamed HTML
The above method involved uploading and embedding content in your digital pubication using zipped HTML assets.
Alternatively, you can stream HTML content into an on-page "HTML Overlay" from an external URL.
This can be a very fast and efficient process, especially for adding content like YouTube videos or interactive maps, for instance.
To do this, simply enter an appropriate URL within the "URL" field and leave the "HTML ZIP File" and "Index File" dropdowns set to None.
For YouTube videos, for instance, you will need to include a URL of the following format, which can be found under the Share > Embed option on YouTube.
https://www.youtube.com/embed/JmfkAhs5IIg
Page Thumbnails
YUDU digital publications use thumbnail images of the pages at various points. These are generated from the base PDF. If the pages of the publication contain a significant quantity of HTML, then the thumbnails may not accurately reflect the page – for example, if the base PDF is blank with all the content provided dynamically via HTML, the page thumbnail will be blank as well.
Thanfully, Publisher supports the bulk upload of replacement thumbnail images and the YUDU support team can provide further assistance, if needed.
Troubleshooting
The user can zoom the HTML layer independently of the rest of the page
To prevent this, add in a <meta> tag which forces the layer to scale to fit the overlay, and disables the ability to scale it independently of the page itself. This meta tag is:
<meta name="viewport" content="width = 100%, user-scalable = no">
At maximum zoom, the HTML layer loses its alignment with the surrounding page
The <meta> tag above addresses this issue as well.
The HTML content includes elements that should be positioned outside the visible area, but this is causing the overlay to render the content smaller than expected
Extra elements intended to be outside the visible area can cause the HTML content to be shrunk down until those extra elements fit inside the overlay area. To avoid this, either change the positioning of those elements or set the content to hide any overflow.
To do this, set overflow : hidden on the main body of the content using CSS

