The HTML Lightbox Overlay type allows dynamic content to emerge from the page until dismissed by the reader.
Since a HTML Lightbox appears on top of an existing page, there is no need to redesign the layout of your page to accomodate multimedia content. It's also a great way to grab the reader's attention!
This makes HTML Lightboxes well-suited for the following types of content:
- call-to-actions
- surveys and feedback forms
- game or quiz activity
- pop-up adverts
- further details of a product or item
- store finder/map
- 360º view of an object or virtual reality interior
Embedded HTML Lightbox
To embed a HTML Lightbox in your publication:
- First create or source the HTML content and compress it in a ZIP file. Important Note: Please select and compress all your html files at the root of the folder rather than selecting and compressing the main folder containing all your source files.
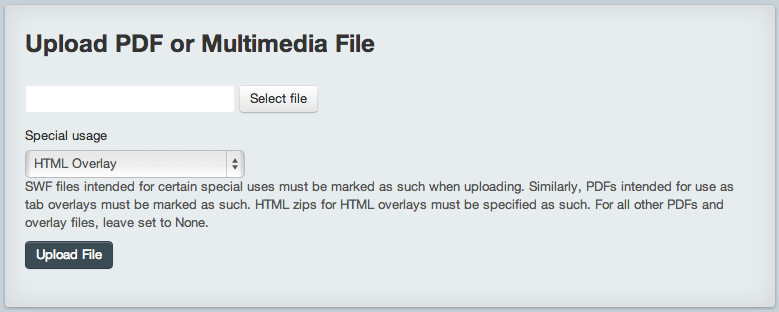
- Once compressed, upload the ZIP file to Publisher via the "Files" section, selecting 'HTML Overlay' special usage.
- Go to the "Pages" section and select the page thumbnail on which the HTML Lightbox should appear.
- In the Overlay Editor, select a "HTML Lightbox Overlay" (see Adding Overlays).
- Draw your overlay on the page and a "HTML Lightbox" pop-up box will appear with additional options.
- Within this pop-up, you must choose your ZIP file from the "HTML ZIP File" dropdown.
- For the "Index File" dropdown, choose the main .html file within the ZIP. (Unless the content contains multiple HTML files, this will be the only option available in the dropdown.)
Please note: the area covered by the on-page overlay is the zone which the reader can tap or click to trigger the HTML Lightbox. It should therefore be placed over a button or icon on the page which the user will be able to see represents a tappable trigger.
Alternatively, the 'Lightbox Image file' dropdown can be used to select an uploaded image; if so, this image will be displayed on the page in the location defined by the overlay and used as the trigger for the HTML Lightbox.
Streamed HTML Lightbox
The above method involved uploading and embedding HTML content in your digital pubication using zipped HTML assets.
Alternatively, you can stream HTML content directly into your "HTML Lightbox Overlay" from an external URL.
This can be a very fast and efficient process, especially for adding content like YouTube videos or interactive maps, for instance.
To do this, simply enter an appropriate URL within the "URL" field and leave the "HTML ZIP File" and "Index File" dropdowns set to None.
For YouTube videos, for instance, you will need to include a URL of the following format, which can be found under the Share > Embed option on YouTube.
https://www.youtube.com/embed/JmfkAhs5IIg